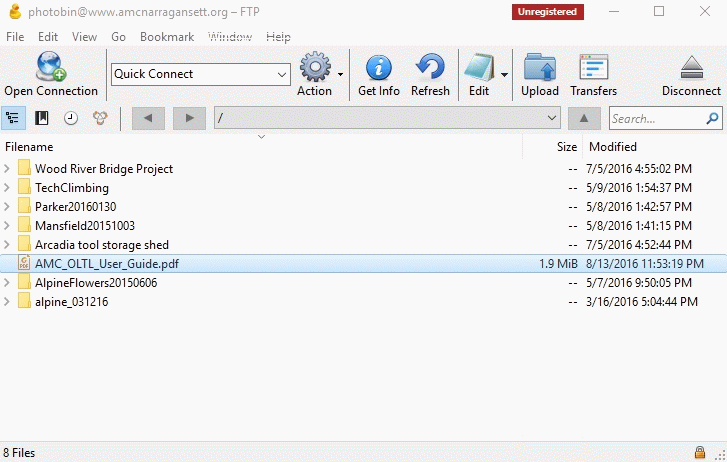
Cyberduck is a ftp program for either the Mac or Windows operating system. It is simple with intuitive controls. Download the program (for your operating system) from http://cyberduck.io/. Install the program on your computer and open the program. You will see the next image. If Cyberduck recognizes another ftp program on your computer, it will give you the option to import your contacts from your other ftp program. Which was convenient for this example because it shows the layout of the opening screen once you have an ftp site has been entered.
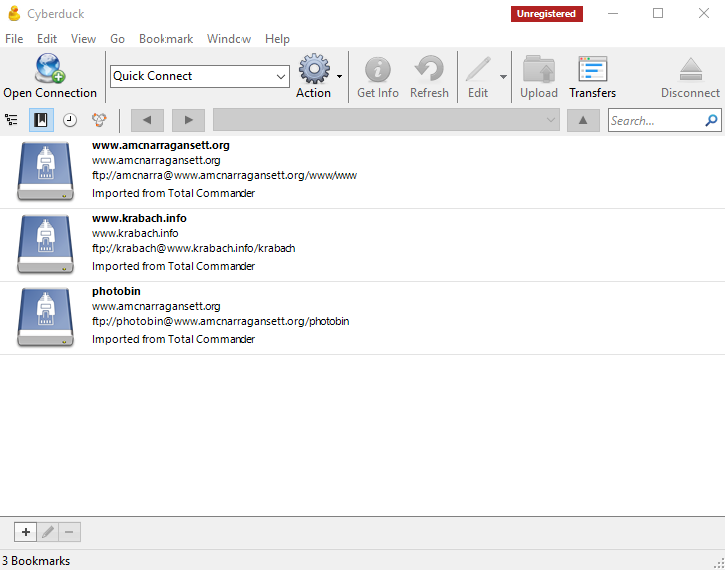
To start, click on Open Connection in the top menu to setup the parameters to set up a link to a new ftp site. Note: the minimalistic window images seen below will not be in the same theme on your computer unless it is a Windows 10 operating system.
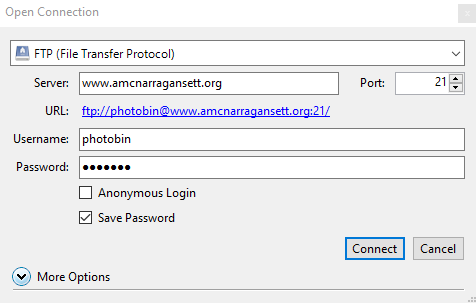
To transfer files to the Narragansett Chapter ftp site you will need to enter some information. The below image shows what to enter in the Server and Username fields. Contact the webmaster for the Password. Once all the fields are filled in, click on Connect.
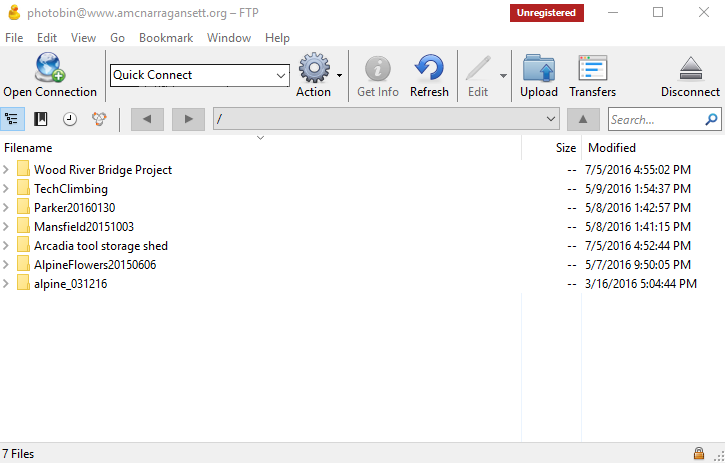
After connecting, you will see the directory or folder that was set up for communication, in this case "Photobin". The next image shows the folders that our site currently has (as of creating this help file). Ftp goes both way, and since you are logged into this site with certain privileges, you can download folders or files, or delete files or folders. So if you make a mistake and upload the wrong file your can delete that file or files and start over.
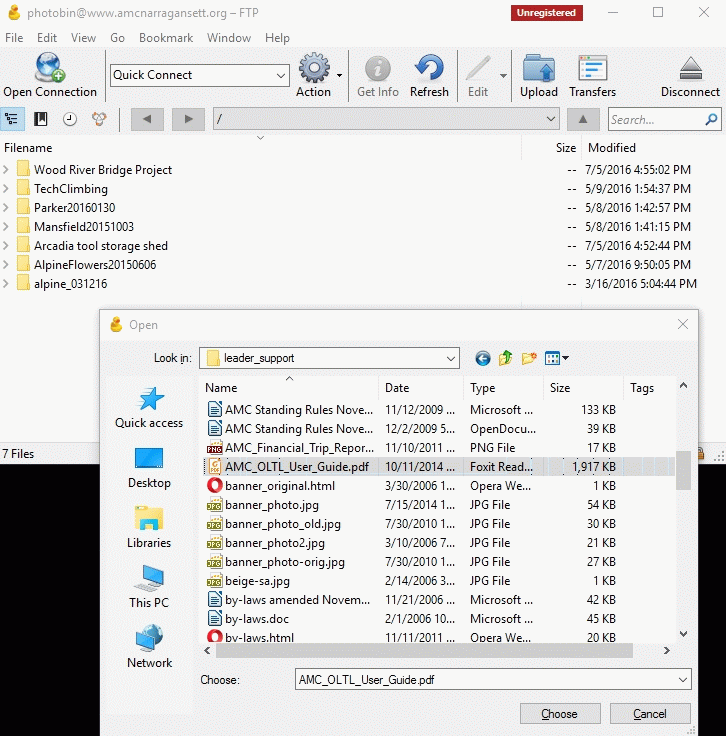
To upload a file or folder, or any group of files, click on the Upload button in the menu and a new window will open to your default folder. You can navigate to any other folder as you would normally do with a file manager. For this example I have navigated to the "leader_support" directory/folder on my computer and selected a user guide to upload.
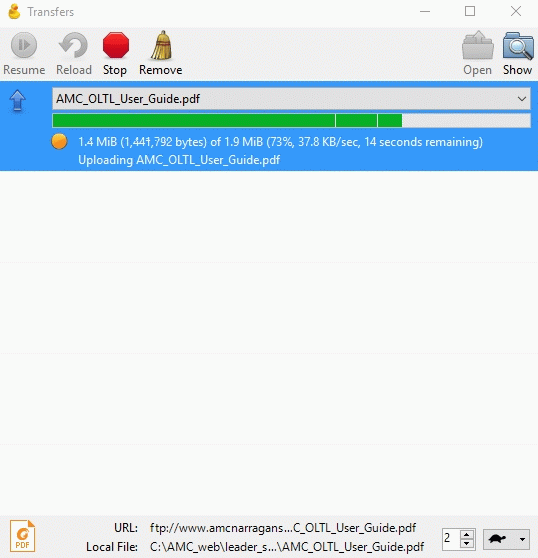
Clicking on the the Choose button initiates the upload process seen in the next image.
When finished, you will see your uploaded file in our host site. Note: If you have a group of files or several different groups of files or photos to upload, first make a New Folder to put the files in. You do this by selection of the proper operation in the Action button in the menu. Then open the new folder and use that for uploading. If you already have a folder on your computer with the files you want to upload, skip making a new folder and just upload the folder. The reason for new folders is purely so files from different members do not get mixed up.