DeluxeFTP is a program that looks similar to FileZilla and has the superficial operation of that program. But it does not have all the advanced features and is just as suitable for the simple process of uploading files to the AMC web site. The download is only 245K, 1/10 of FileZilla. Download
the DeluxeFTP
program and save it to a folder on your computer, which may or
may not be under the “Documents and Settings” folder. You
may also choose to save it in a folder of your choice. Remember where
you saved it to.
After the download is completed, go to the
folder it was saved in and double click on the file to install the
program. A Desktop icon will not be automatically installed. To
install one, use the Start Button, click on Programs, move the cursor
over to highlight the DeluxeFTP item and right click and copy. Move
the cursor to your desktop and right click and paste. You will have a
workable icon.
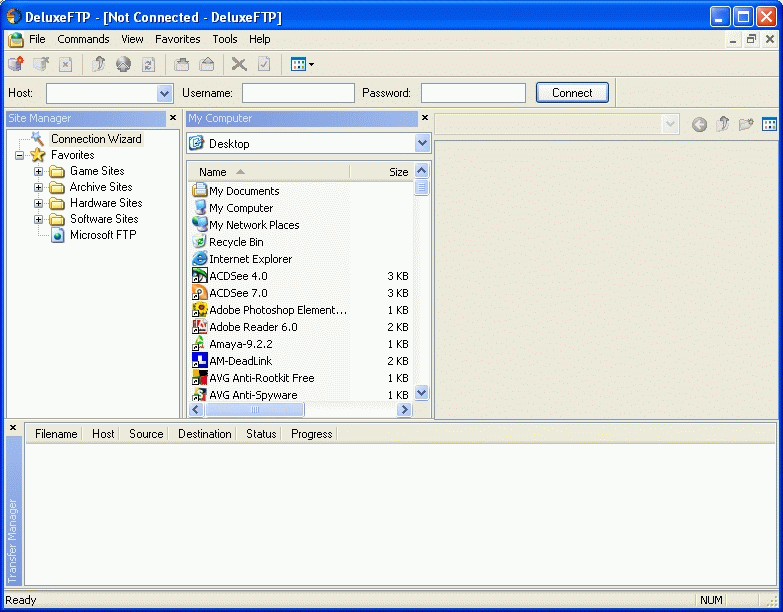
Click on the DeluxeFTP icon and run the
program. The first time it opens it may not have all the panels open.
Under View in the menu, check all the options showing all the panels,
including Site Manager, Transfer Manager, Quick Connect, and My
Computer. This will give you window panels to better follow the
transfer process.
There is some advertising going on here in the Site Manager panel, so you may delete the folders under Favorites if you wish. Do a right click and delete each folder. Do not delete the Favorite folder. To set up the ftp connection, click on File/Connection Wizard in the top menu. At the prompts type in “amc photobin” for the Site name, key [Next} and type in “amcnarragansett.org” for the Host address, “photobin” for the Username, and the password. Email the webmaster for the password. It is not the general password. In the next prompt browse for a download folder if you don't see one you like as the default, if you plan do do any downloading. Other wise ignore it and continue. Click the next prompt to save the connection in the Favorites. You may check the 'Connect Now' box or [Finish]. If you connect now you will see the following where I have used the Tree in “My Computer” to go to the file folder that has the files I wish to upload.

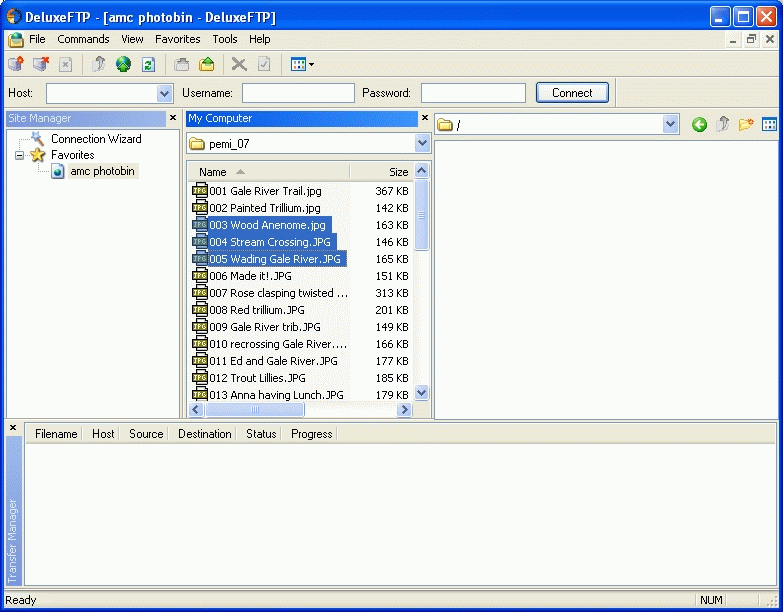
I now can select the files I wish to upload by any of the standard way of tagging files, ie highlight one and Ctrl-A to select all the files in the folder or highlight a file and Ctrl-click additional files. In the following image I have tagged three files for uploading. Downloading files is just the opposite, if there were files in the right (server) panel just tag and drag them to the left panel.
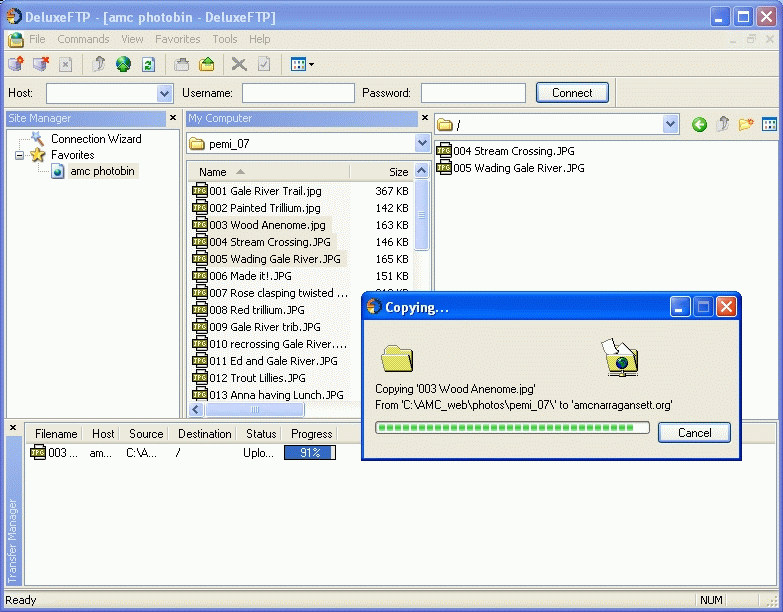
Do not use the little upload icon* in the menu buttons, but use the
mouse to click and drag the tagged files to the right into the
host panel. You will see the the upload progress in both the copying
dialog box and the bottom panel. The host panel is not marked as the
photobin but it was defined when you set up the connection as a
Favorite. (If you wish to edit any Favorite, just right click on the
item and click on Properties.)
*The little upload icon is used
to find a file to upload that is not currently in the “My
Computer” panel.
While the files are uploading you will
see the following.
When you are finished exit the program either with the File/Exit or the little red X in the program window.