3 Watt LED Bike Light
Experiments
February, 2008,
Rev c.2
Michael Krabach
Contents
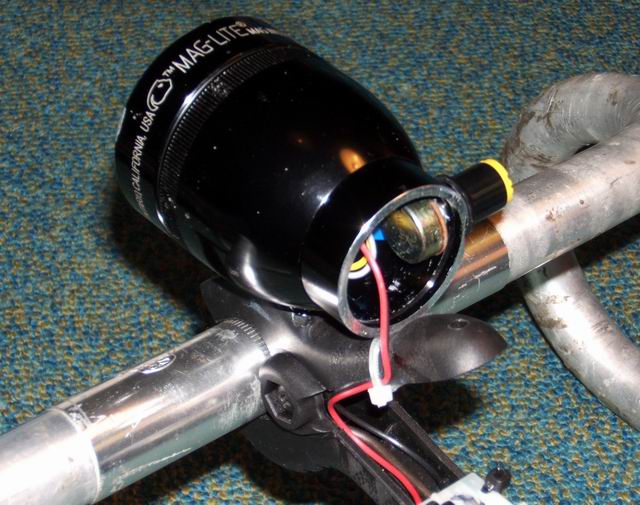
Prototype 8 - Triple Cree in “D” Mag-lite Head
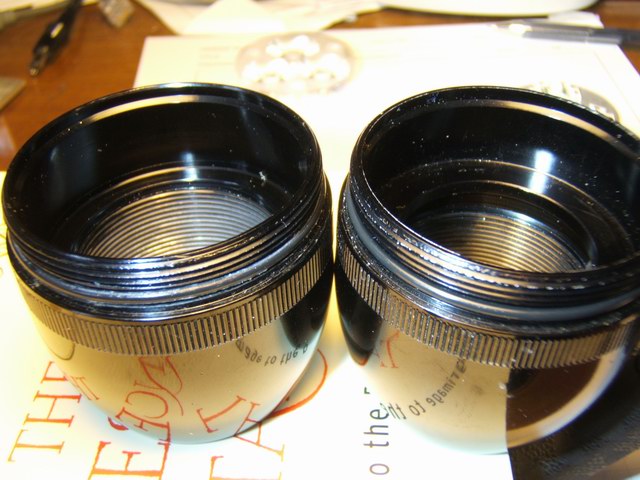
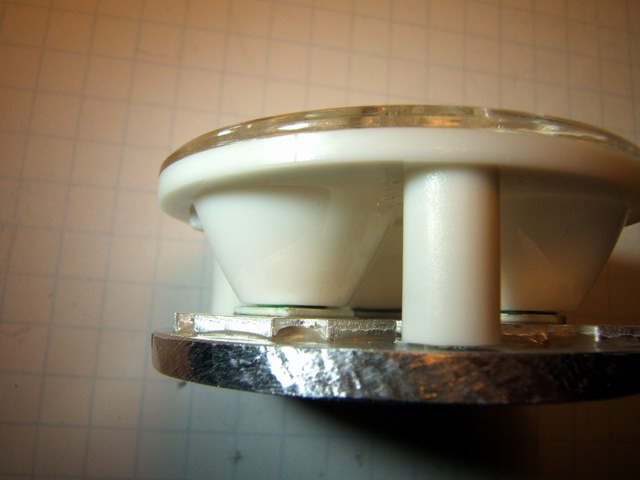
This experiment was to redesign the previous prototype but I tried to simplify it. I used the Buckpuck regulator and potentiometer. Since the regulator is a sealed block there is no problem with electrical contact with the aluminum light. I also found, by trial and error, that the DX SKU-1911 tri-optic lens matches the depth for a 3 cell “D” Mag-lite head, but not the 2 cell “D” light. Again demonstrating the subtle differences between Mag-lites.
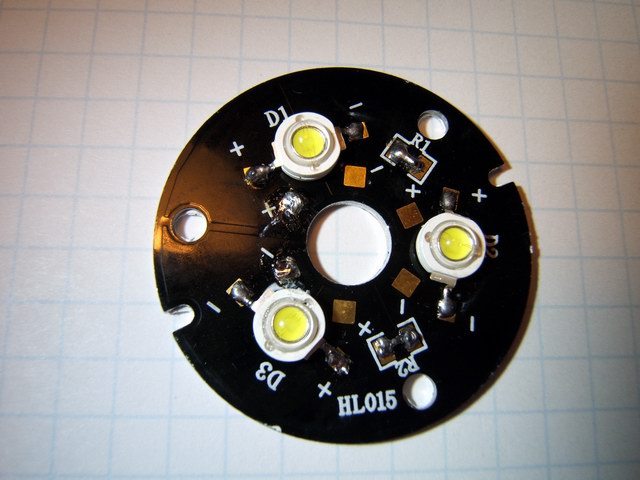
I also hoped to reduce the assembly work in bonding the LEDs to the custom heat sink. I did find a 3 watt three LED emitter board, DX SKU-5225, that (what a coincidence) fit down in a Mag-lite head. The DX SKU-5225 (shown below in the left photo.) appears to use Cree emitters but when compared with the Cree P4 XR-E 7090 LEDs, the light was not as bright and slightly bluer. The thickness of the heat sink is only about 1/16” vs the 1/8” of my hand carved heat sinks. So I did not use the pre-assembled LED board. (That is done in the next Prototype 9.) If you want to eliminate a lot of fussing assembling, and don't mind a little less light, it is to be recommended. The price is about the same as buying three LEDs.

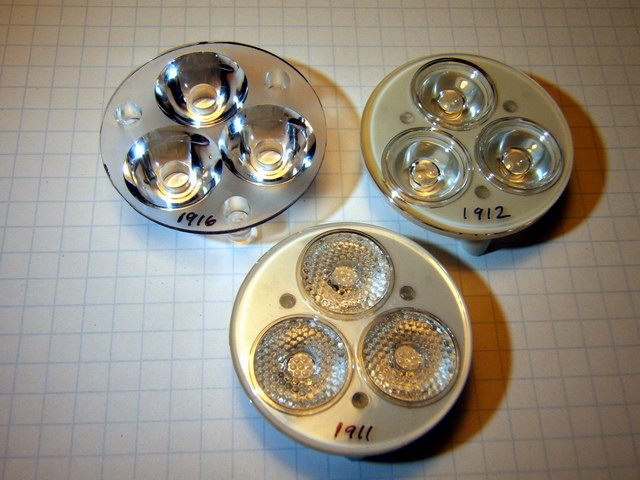
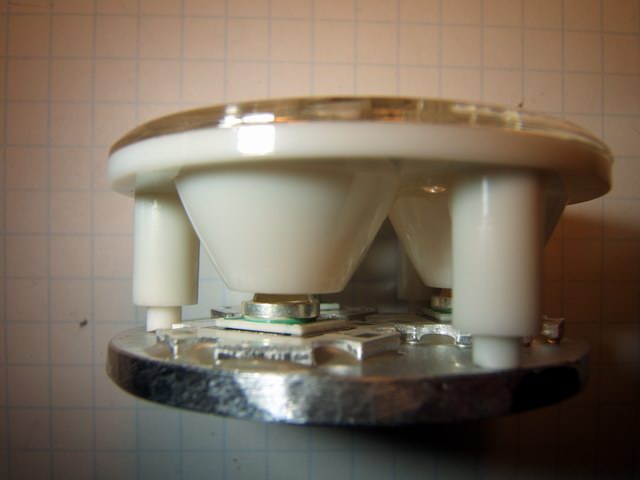
The three Cree LEDs were wired in series as the other prototypes, and are driven by a 12 volt lead acid battery. Three tri-optic lens were found to work in this head, the DX SKU-1916 which is a clear lens, the DX SKU-1911 which is a multifaceted lens and the DX SKU-1912 which has a clear lens. Two of the lenses need the standoffs clipped to fit properly on the LEDs, while one clear lens worked as is, shown below in the photos. The clear DX SKU-1916 has a very defined beam of 8 deg, too narrow for a bike light. The DX SKU-1912 has a very defined beam of 14 deg , and the multifaceted DX SKU-1911 lens has a semi-flood beam that is a that gracefully falls off from 15 to 30 degrees. It is a nice feature of this prototype that there are three interchangeable beam patterns available.

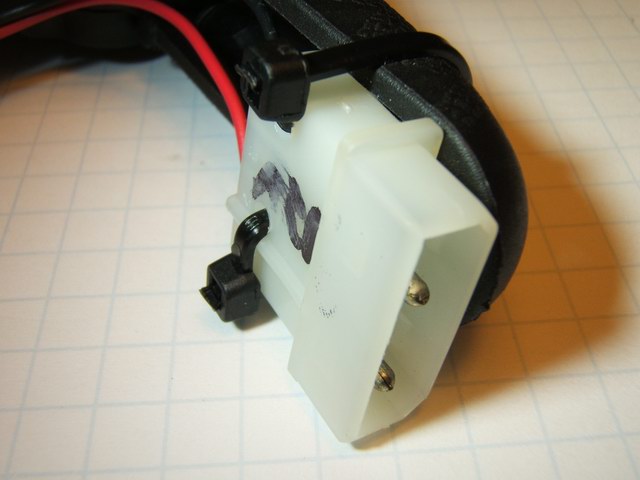
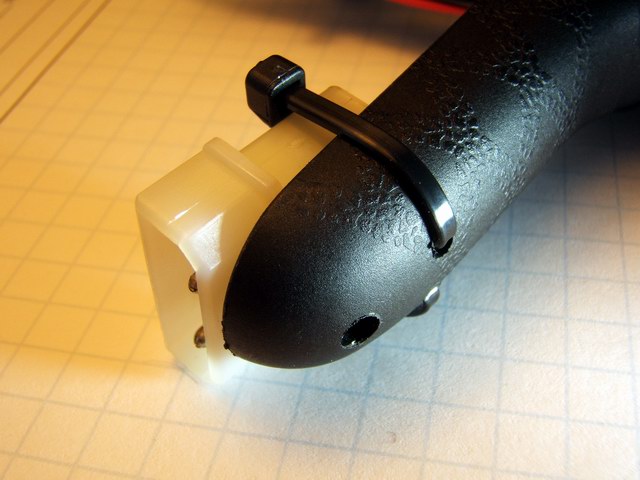
There are many ways of making power connectors depending what is available in your junk box or what you want to buy. Of these prototypes I found the PC power connectors fastened nicely to the plastic clamps if I staggered the pins (this requires having a pin extraction tool) and used nylon tie wraps to fasten them to the clamps. One more cheap suggestion to use up junk.
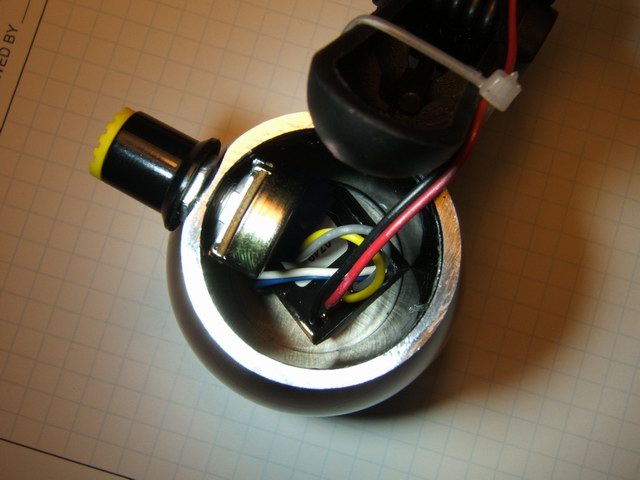
In all these prototypes I have not worried about making them waterproof. Two reasons are: I don't ride in the rain at night (really dangerous), and rain water is not very conductive if the lights, or battery terminals, do get wet. If you expect it to rain, get cheap and just use a piece of duct tape to cover any parts that you don' t want to get soaked. The angle stock that acts as a visor shield and heat sink on most of the prototypes, also will shield rain from the LEDs. The L2 Optic lens are also waterproofed with the GE Silicone II adhesive. The diffuser covers that even out the beams also protects the lens from damage and wet road grime. They can be replaced easily if damaged.